One Room Challenge Week 3

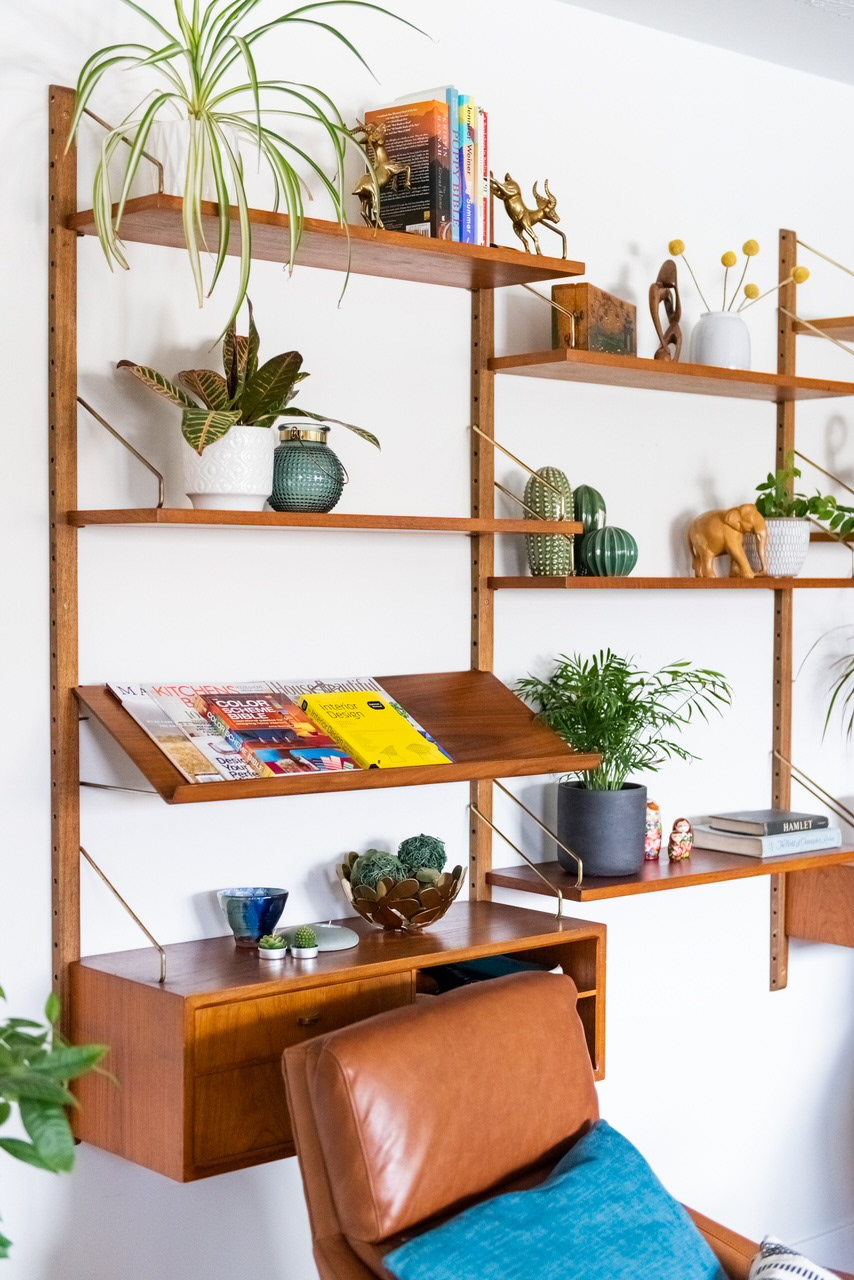
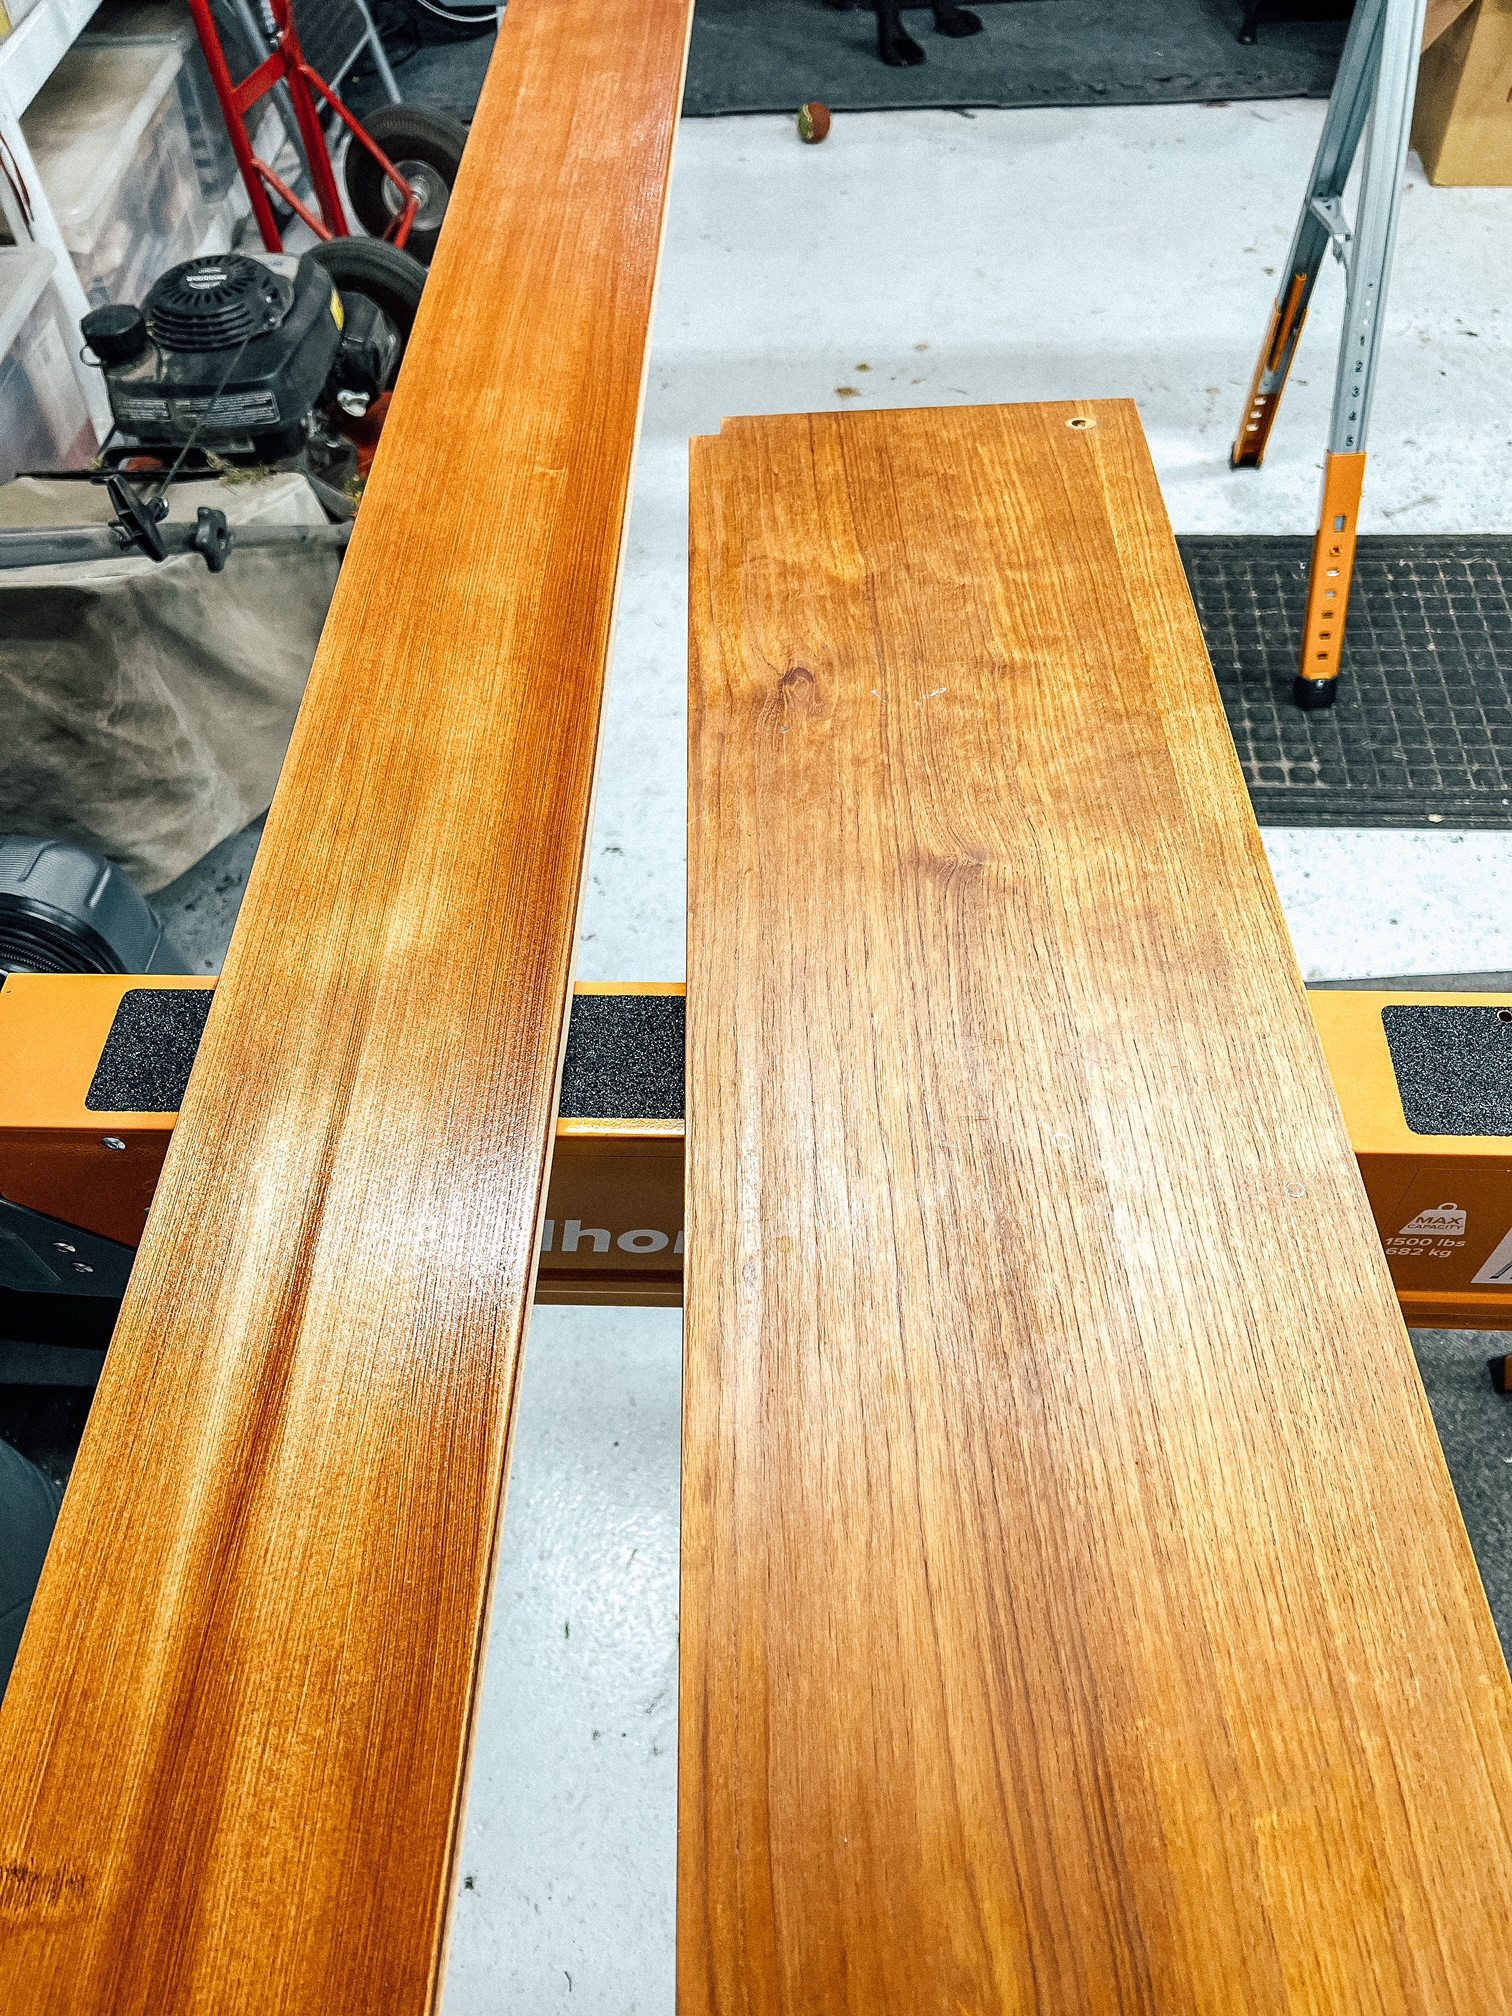
No kidding around this is a challenge! You can find a recap of Week Two here. In Week Three, we continued building the bed. I had planned two weeks for the bed but I think we will need three weeks! This week I finally got the stain right for the outside pieces of the bed and my husband has been getting the bed frame started. After some more trial and error I got the fir to a pretty good match to the vintage teak. I used Salem and Candlelight from General Finishes. The Salem is a liquid oil stain and the Candlelight is a gel oil stain. I've found the gel much easier to use. I wish I had started with gel but this is a learning process! I used a shelf from our shelf unit as reference - I think it matches pretty well!
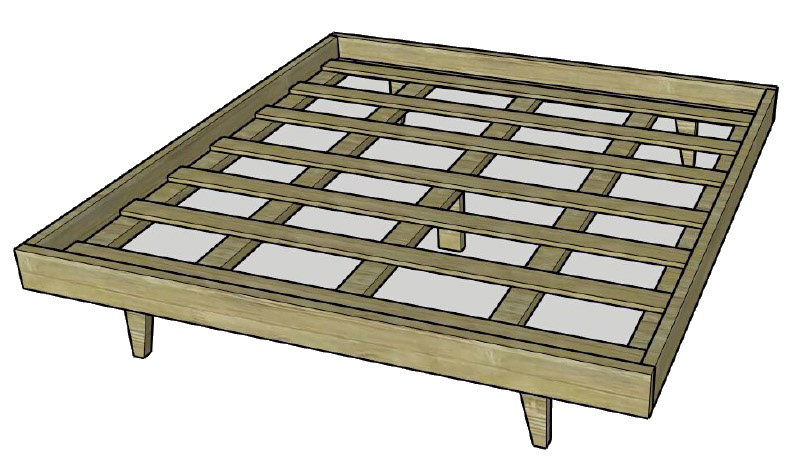
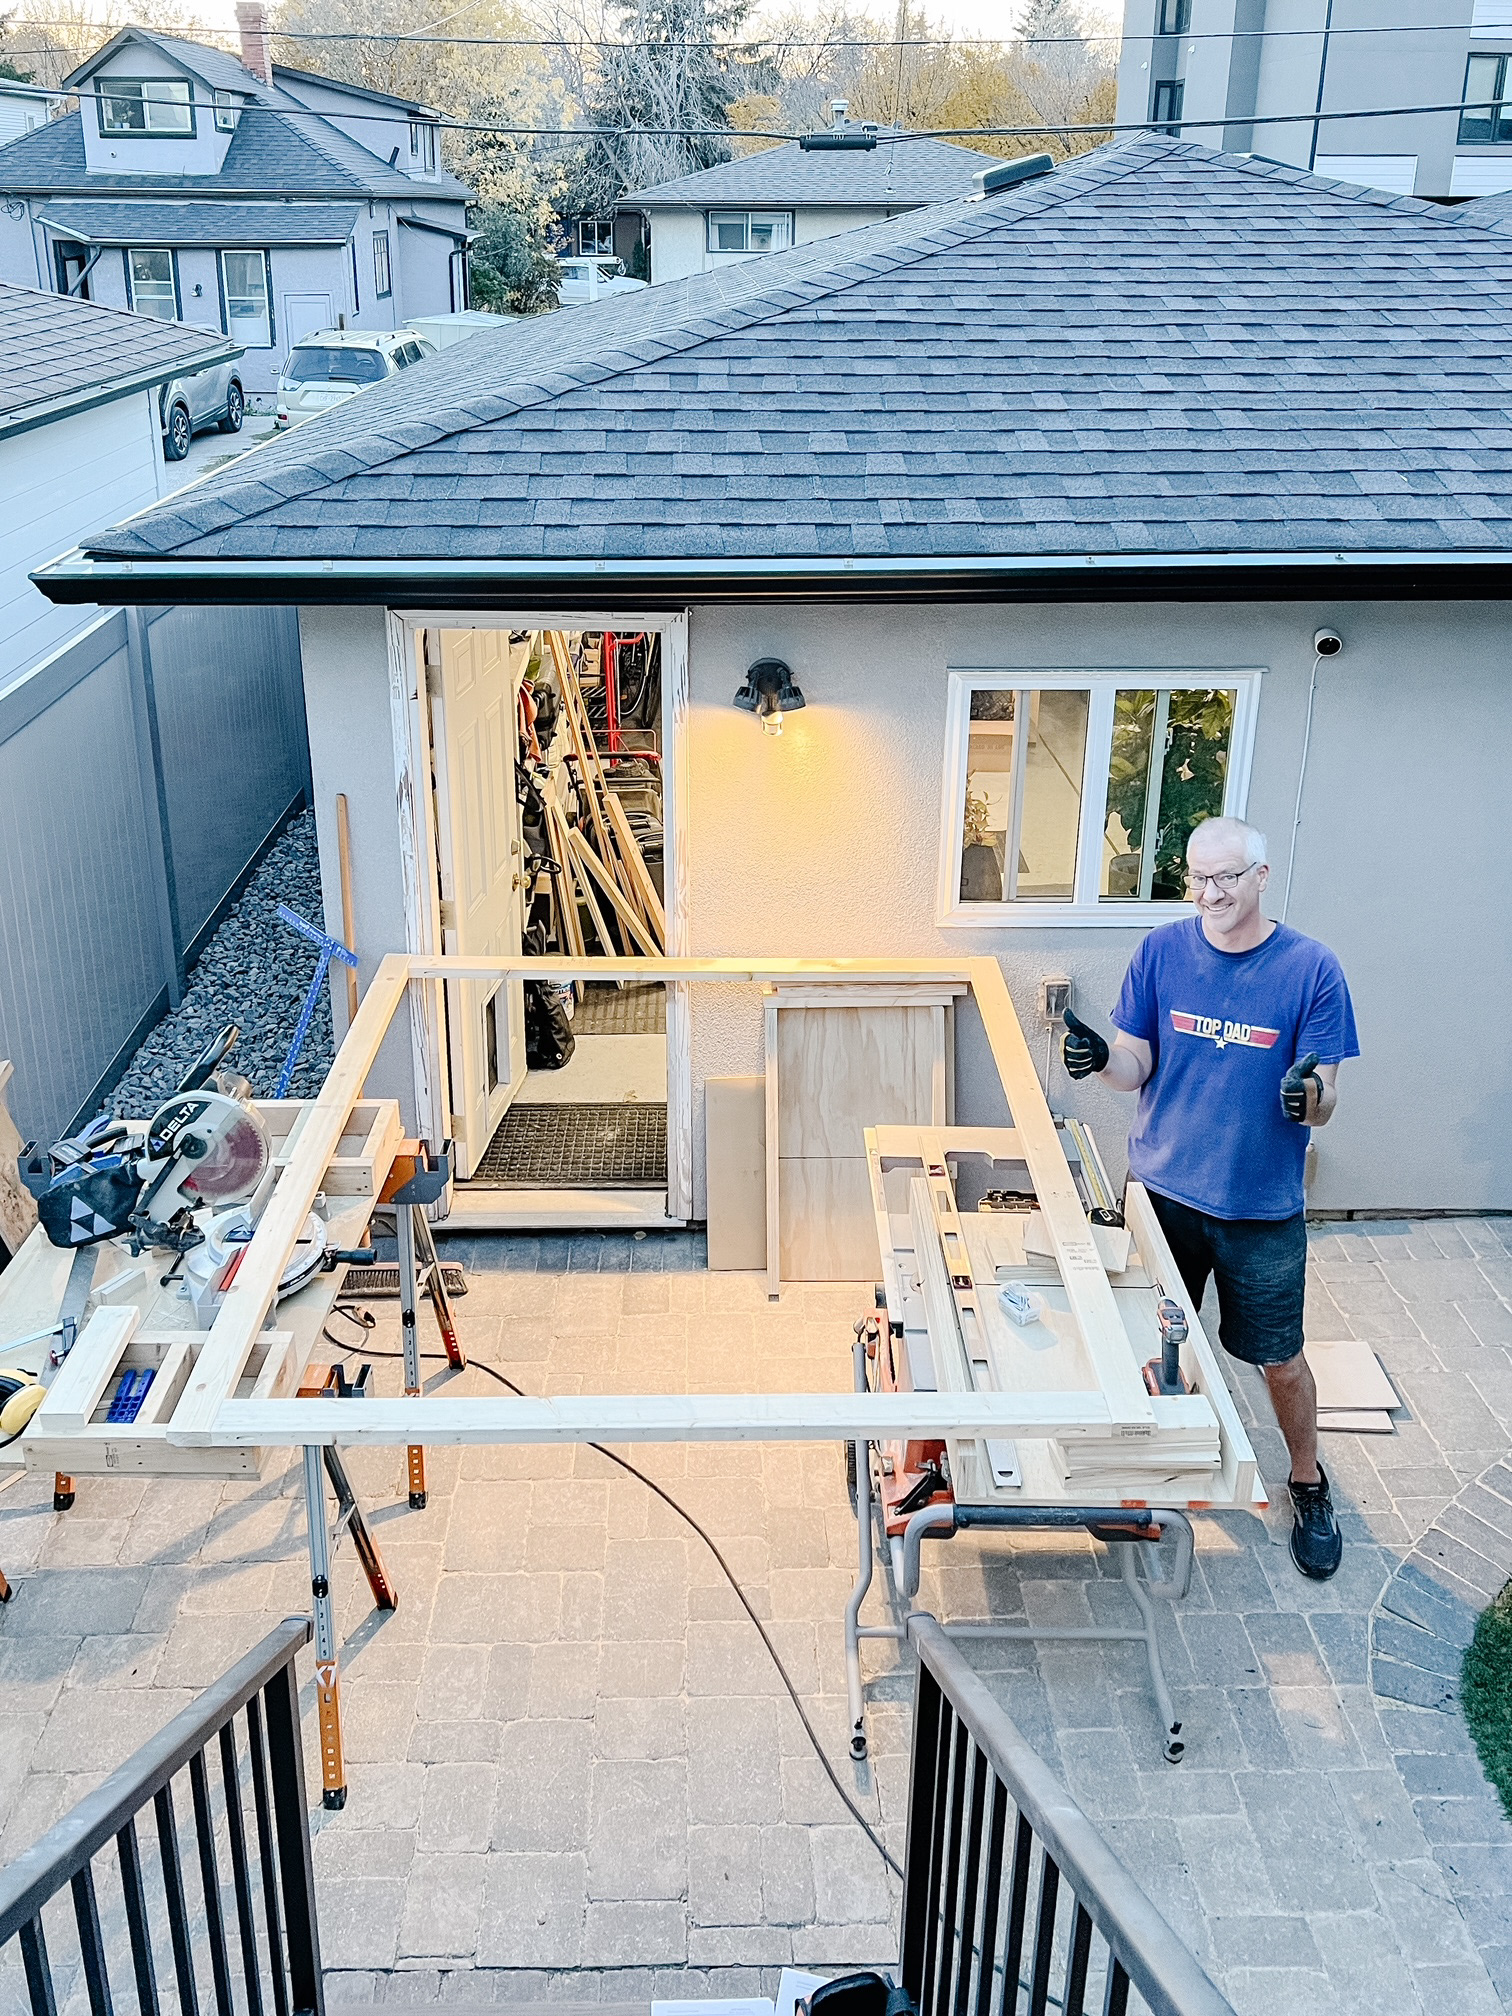
We have a plan for the bed frame but we've made some changes and had to learn some new techniques as a result. First up we are doing a mitered corner on the outside of the bed and my husband needed to build a cross-cut sled for his table saw to allow to him to cut a clean 45 degree for the mitered corners. A sliding compound miter saw also works but this is a cheaper option vs buying a new tool. The sled was made out of 3/4" plywood and will become part of the tools he'll have on hand in the future. The bed frame plan recommends pocket holes to build a fasten the 2x4" together so we used a Kreg pocket hole jig. Now that we have all these pieces the rest of the bed should be quick to finish! The left is the rough plan and the right is where we are right now! Shout out to DIY Montreal for their video and Shop Essentials as well for the great help online.